
These no-bake stocking cookies are a fun little Christmas treat to add to your cookie making this year! You can find the full tutorial at Handmade Charlotte. Merry baking! (...or no-baking!)

Ahhh, can you believe this is Thanksgiving week? If I’m honest, I started listening to
Christmas music on November 1st, but there is so much to be grateful
for this year, and sometimes I forget to stop and reflect on all the good
things. I am beyond grateful for strong
friendships. At twenty-four years old, I
remember worrying about choosing the right bridesmaids. I wanted to pick friends who would still be
in my life in twenty years, and I’m happy to say that the friends I chose are
my closest friends to this day! I talk
to a couple of them almost daily, and treasure them even more today than I did
20+ years ago. We have walked through
many seasons of life together (good & bad), and it feels like I wouldn’t have
survived some of them without these ladies by my side. I didn’t mean for this post to turn into a
tribute to girlfriends, but I’m just SO grateful for them, and I hope they know it! I treasure the new friends I have made along the way as well. What are you most grateful for this year?
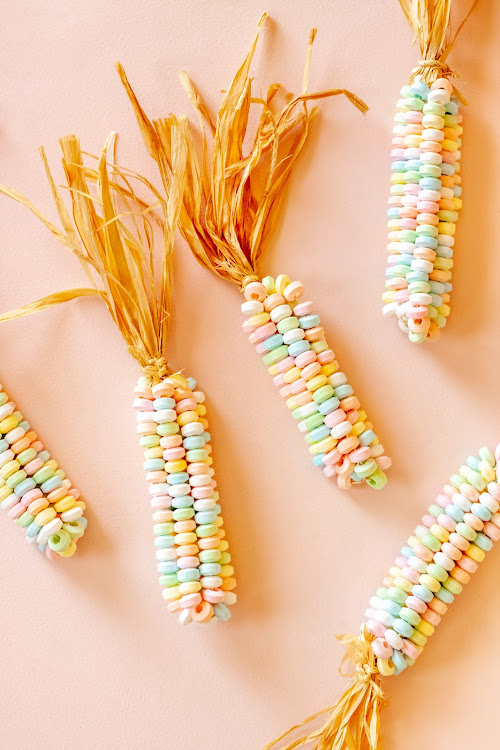
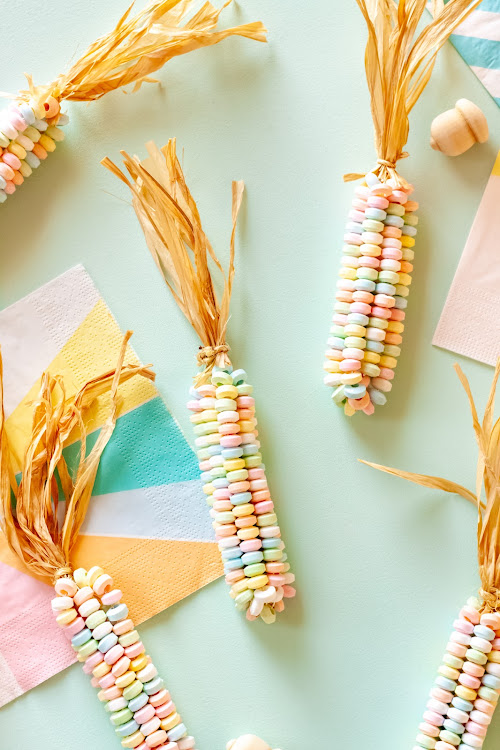
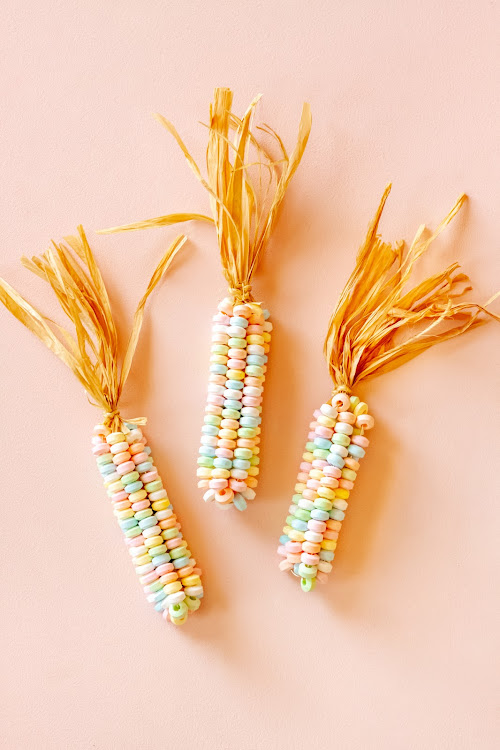
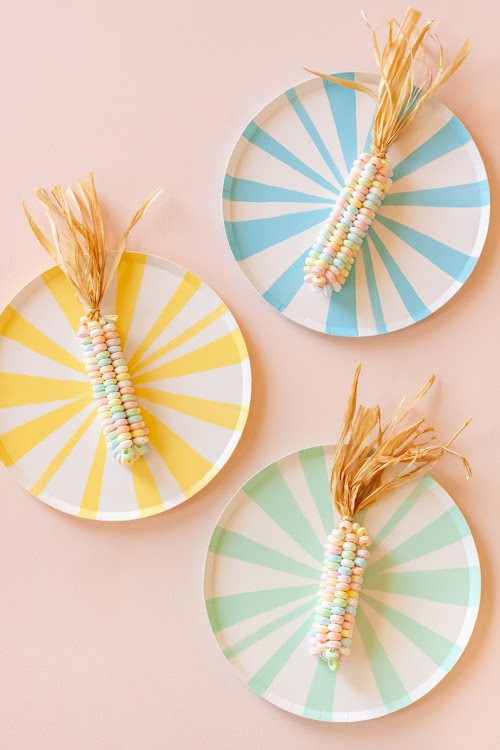
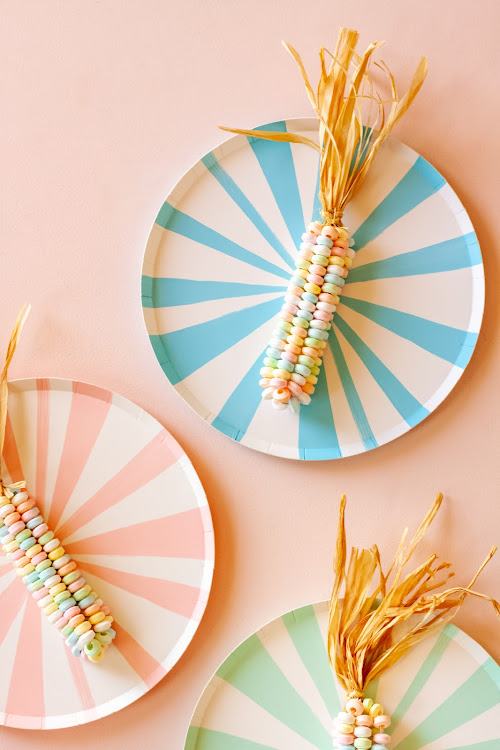
I wanted to share this pastel calico corn I made using candy bracelets for a fun little Thanksgiving DIY for the kids. They’re so easy to pull together once you have the supplies, that I made five of ‘em while watching a few episodes on Netflix! I hope you have a wonderful Thanksgiving and that you are able to take time to relax and reflect. Here’s a little tutorial for the calico corn!
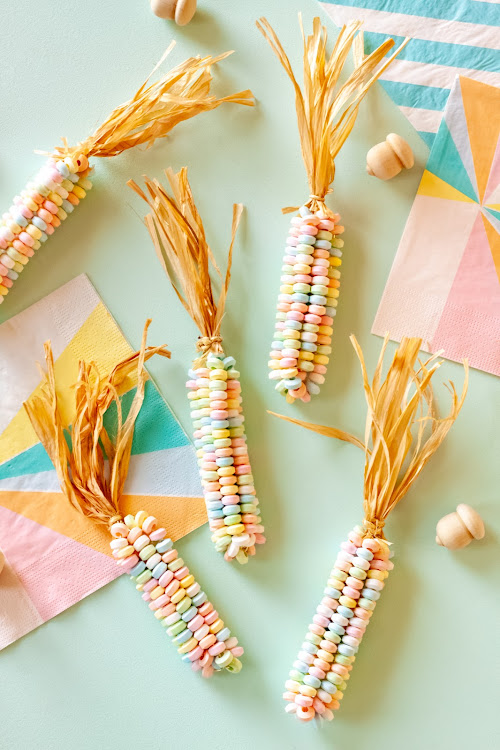

WHAT YOU NEED:
• Scissors
HOW TO:
Step 1
Cut the candy beads off the necklaces, and place in a
bowl.
Step 2
Cut about a 12 inch piece of wire, and bend in half. String the candy beads onto the wire, leaving
about 1 1/2 inches at the top on each side.
Step 3
Carefully hold the wire together at the top to keep the
beads in place, while wrapping a second wire around the center of the
first. Make the second wire slightly longer than 12 inches, since it will lose length when you wrap it around the first. Add candy beads to the second wire leaving space at the top again.
Step 4
Repeat the steps with one more wire, until you have six
pieces of wire sticking up. Twist the 6
wire ends together at the top, and fold over to keep any loose ends from poking
anyone.
Step 5
Cut a small bundle of raffia to about 4 1/2 inches long, and
use a short piece of hemp string to tie it around the wires at the top of the
“corn”. You may cut the string down if
it hangs too much.
TIP: Be sure
to help younger kids untwist the wires, and release the candy for them.

Happy crafting and Happy Thanksgiving!


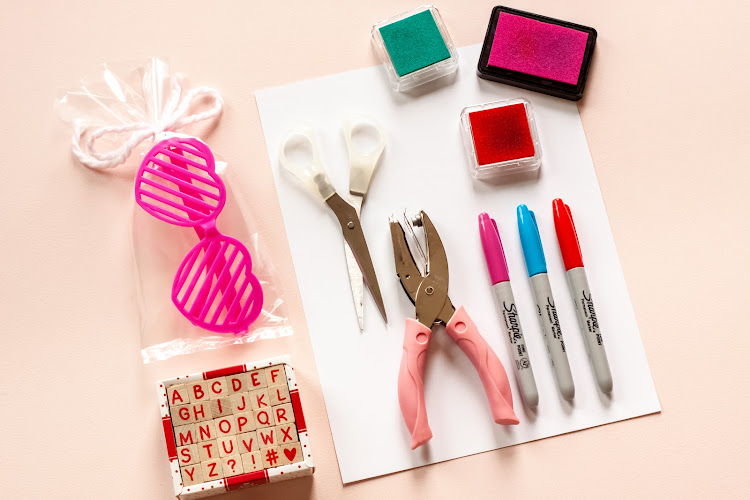
• Cardstock
• Scissors or paper cutter
• Alphabet stamps
• Ink pads in multiple colors
• Markers
OPTIONAL:
• Hole punch
• Ribbon or string
• Heart glasses
• Cellophane bags
HOW TO:
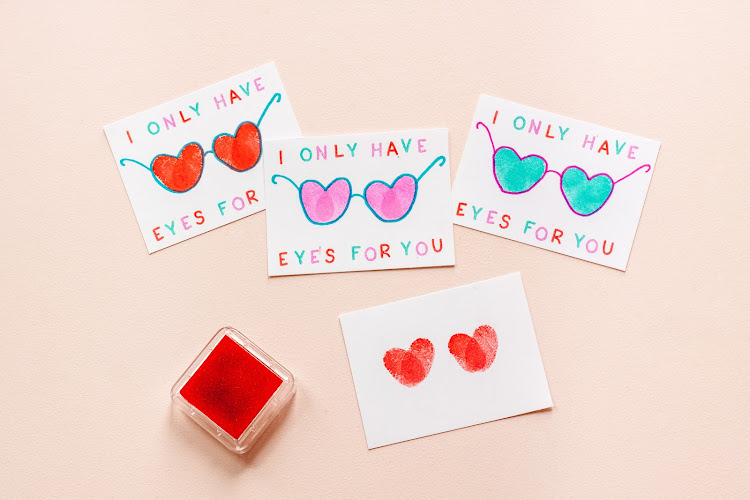
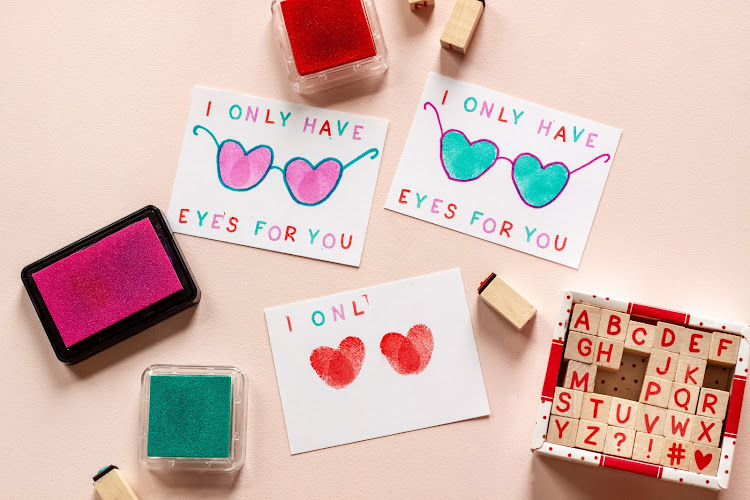
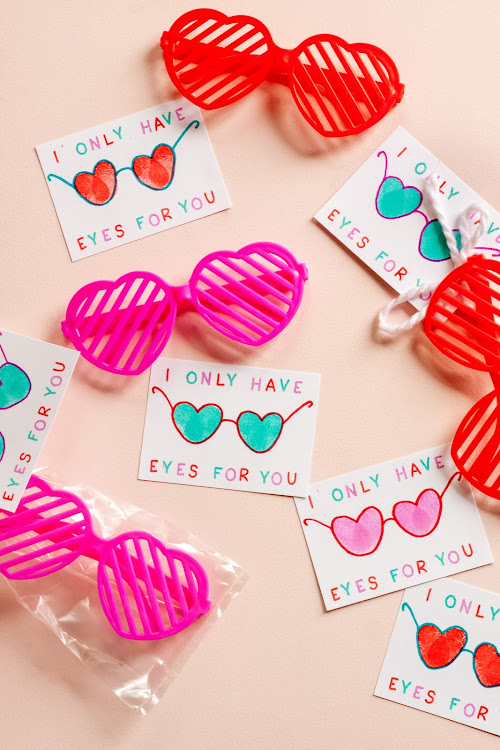
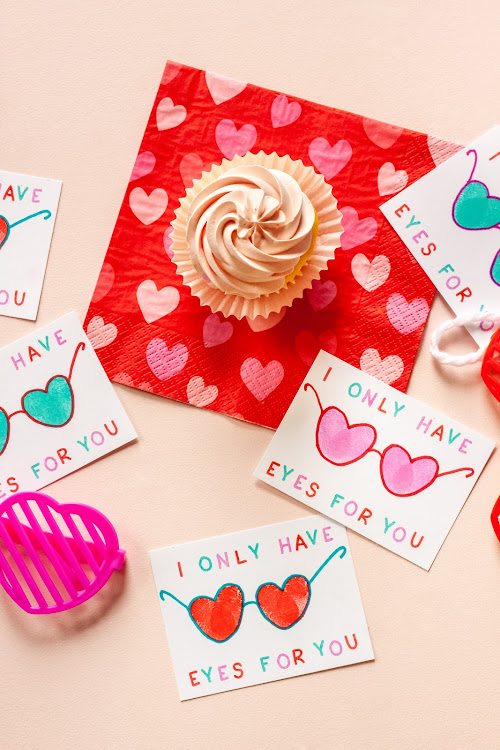
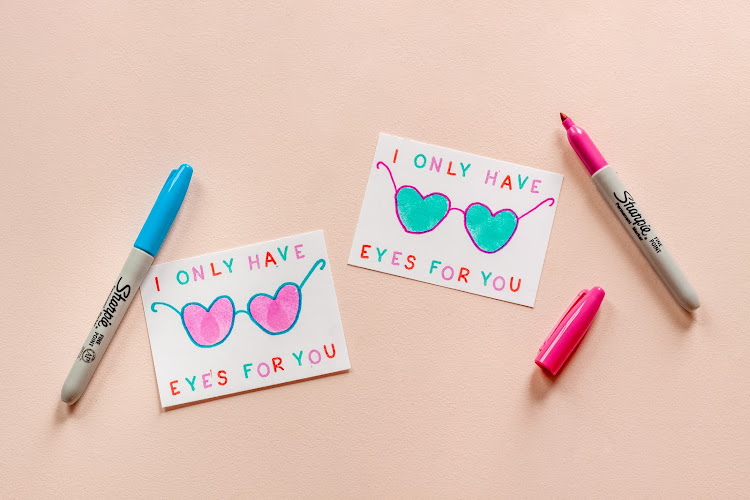
In multiple alternating colors, use alphabet stamps to write “I ONLY HAVE EYES FOR YOU” with “I ONLY HAVE” at the top of the card, and “EYES FOR YOU” at the bottom.
Step 3
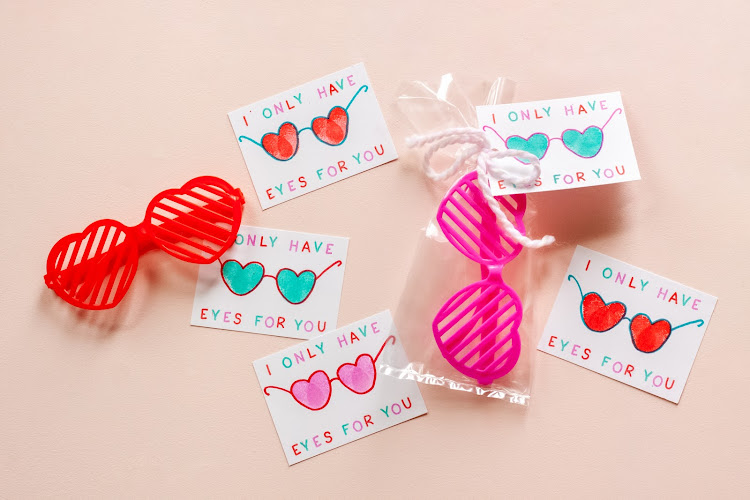
Step 4 (OPTIONAL)
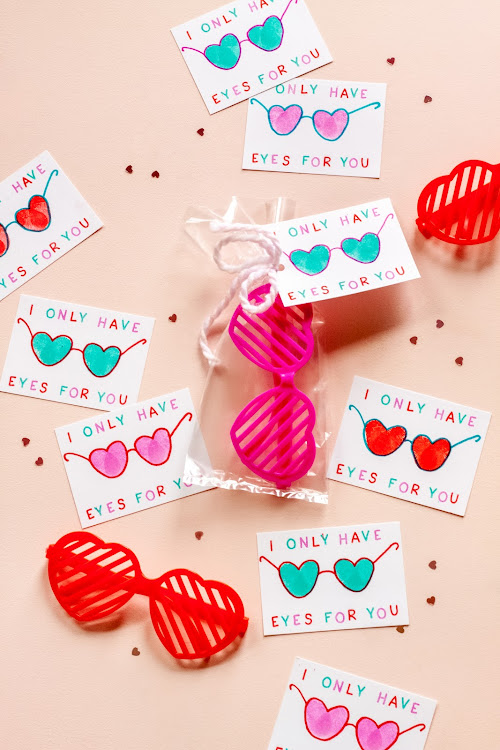
You may punch a hole in the side of the card, put some heart
glasses in cellophane bags, and attach the card to the bag using fun ribbon or
string.
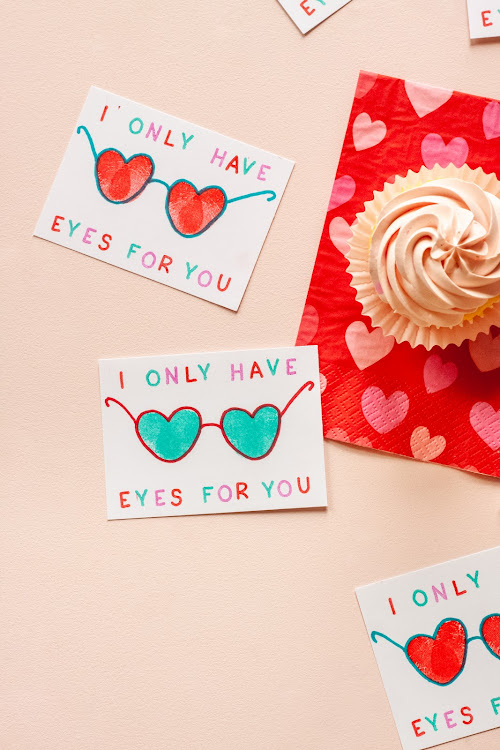
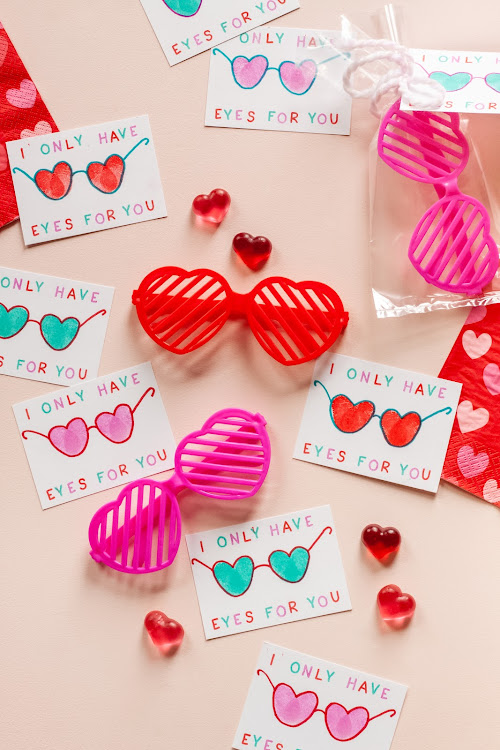
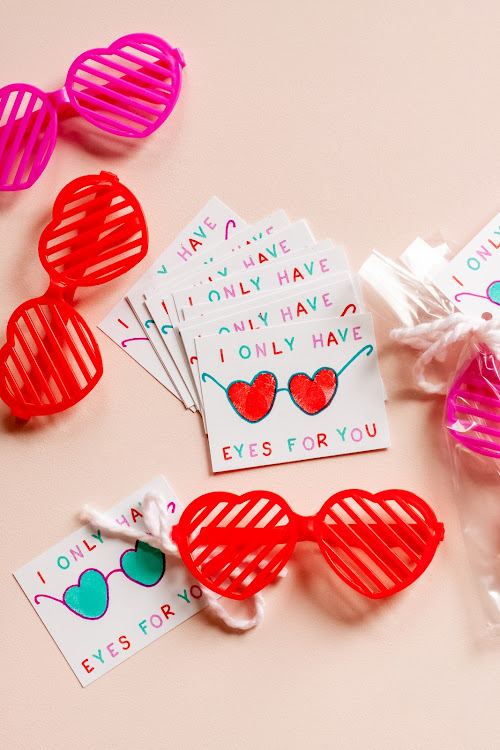
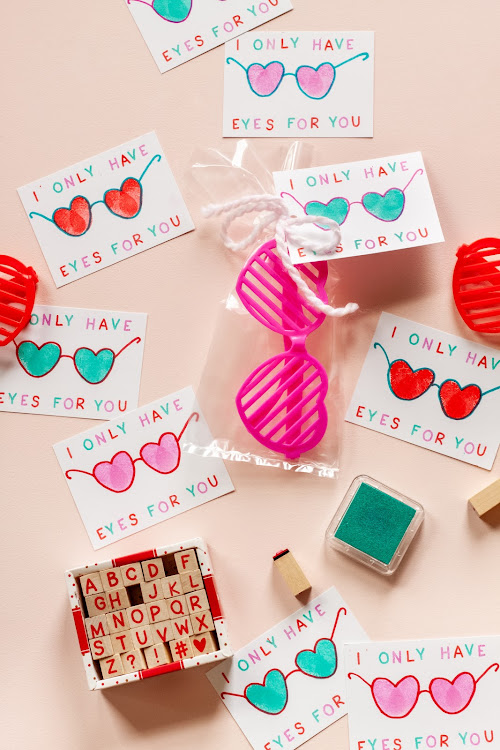
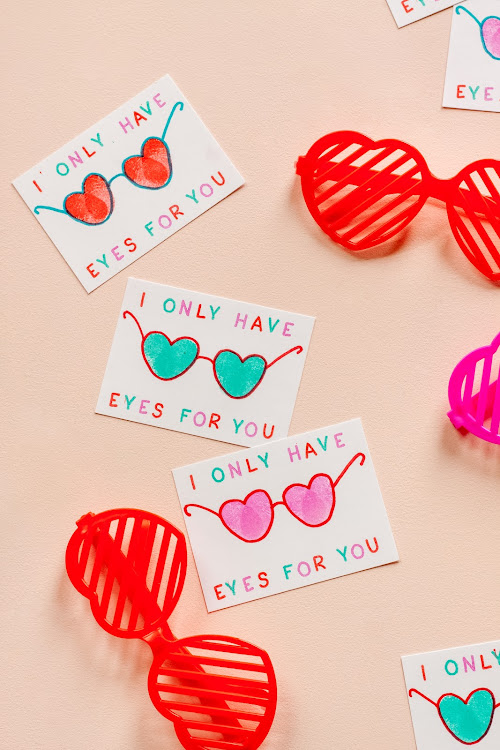
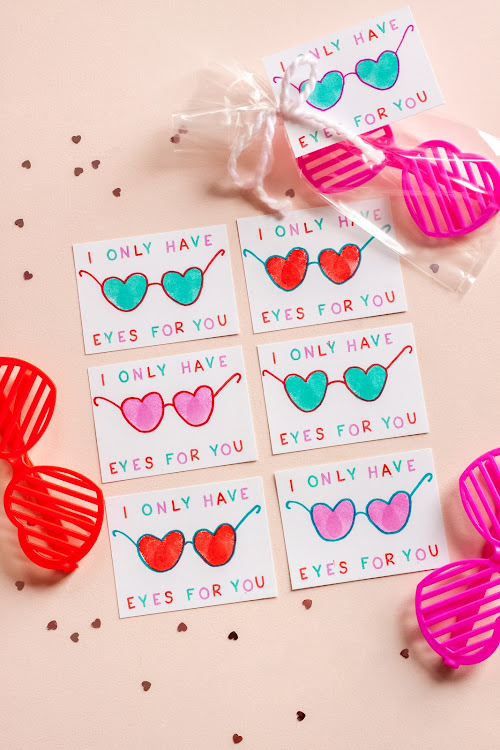
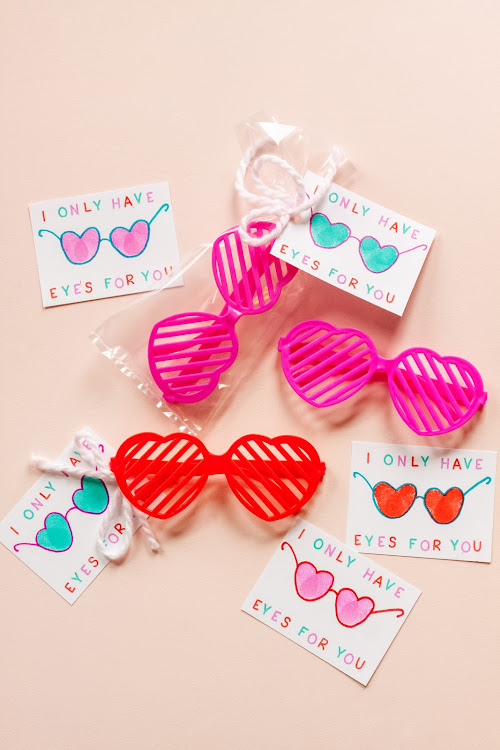
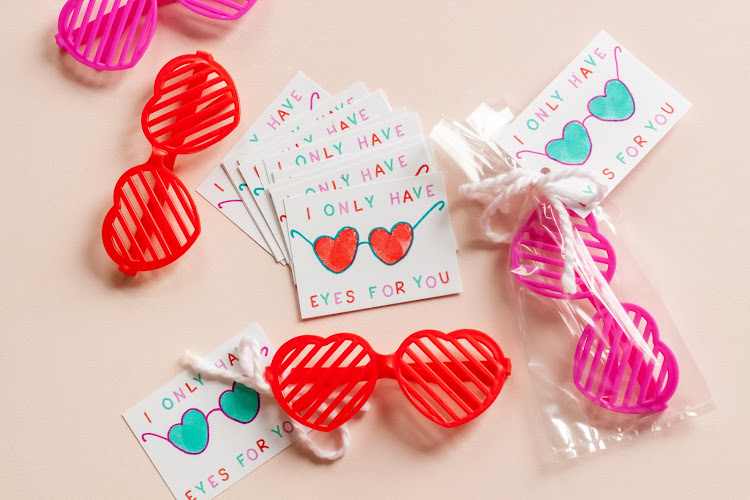
Now you have the cutest valentines to share with classmates,
friends, family and neighbors! Happy
crafting, and Happy Valentine’s Day!!

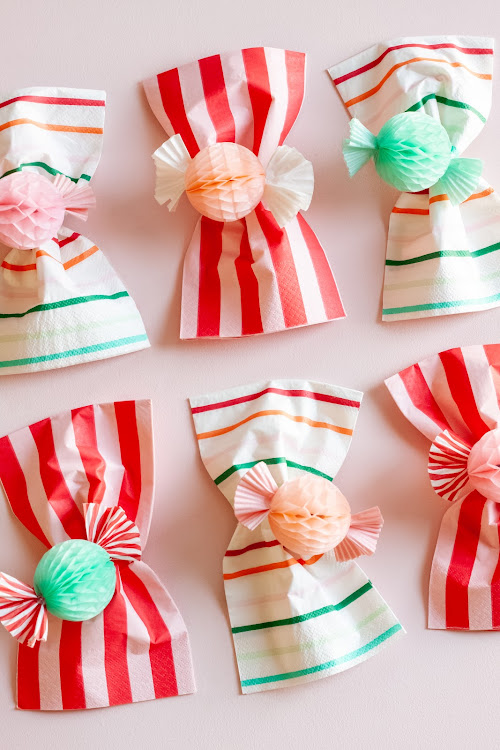

Hello friends! It isn’t often that I post to my own blog these days, but my sweet friend Gina invited me to join her 6th Annual Creative Collective Project – and how could I say no?! I adore Gina. She is amazingly creative and talented, but also genuine and so kind. I am honored to be a part of her creative advent calendar, so let me introduce these mini candy covers for DAY 14! I dreamed up these little winter hats when I saw a pack of small plastic bowls at the dollar store. They were just asking for a pom pom, a little paint, and a sweet “knitted” rim. I wanted to keep the project simple, and use accessible supplies since this is an international collaboration. I don’t believe the dollar store is international, but I am hoping that everyone (who wants to make the project anyway) can track down some small plastic bowls. If you are not in the U.S. and find a good source, please share in the comments below. I know we all have party streamers and paint!

When my mother-in-law hosts holidays, she often places some
candy in tiny individual baskets, bowls, or cute containers, and the kids love
it! I thought these hats would be
adorable at each place setting this Christmas, with a little candy surprise
hiding underneath. I considered calling
them “Covid Covers”, because they would protect the candy from coughs, sneezes,
and little hands! While these are cute
for the holidays, the color schemes can be customized to suit any winter gathering
– a small one, of course! They could be
placed on a tray for an afternoon of sledding or ice skating, or could cover
little piles of marshmallows for hot cocoa! You could put names on them and use them for place cards.
I already know my son will want to place one on his head, so it could be
fun to attach some elastic, and turn them into party hats! How do you imagine using them?

Before I get on with the tutorial, I would like to invite
you to join us, and spread seasonal merriment in a year where these everyday
joys really seem to make a difference (perfectly worded by Gina)! Please follow her Instagram account (@willowdaygram)
to see 25 creatives around the world share 25 daily holiday projects. She is our host, and links to each daily
participant so you won’t miss a single one.
She will also share some extras in her stories throughout the
month. It’s never too late to join the
fun!


Now, for the tutorial…

WHAT YOU NEED:
• Acrylic paint
• Sponge brush
• Toothpicks
• Streamers
• String
• Scissors
• Fringe scissors (optional, but helpful!)
• Index card
• School glue
• Tacky glue
HOW TO:

Step 1
Use a sponge brush, and acrylic paint color of your choice to paint
the inside of your plastic bowl. Allow
to dry, and you may want to do a second, and even third coat of paint for full
coverage. The inside of the bowl may not
look smooth, but when you flip it over to create the hat, it looks perfect on
the outside!

Step 2
Cut about a 31" piece of streamer. Fold the bottom 1/3 of the streamer up across the entire
length. Fold the top 1/3 down across the
entire length. Next, fold small segments
of the streamer on top of each previous segment. The best way to describe it would be a
“staggered accordion fold”. Add a dot of
school glue under each fold and press down to hold it together. Allow to dry.

Step 3
Flip the bowl over, and glue the streamer piece around the entire
bottom edge using tacky glue. Cut off
any excess, leaving enough to overlap the two ends a tiny bit, and glue
down.

Step 4
Cut an index card to 1 1/2" x 5" and place the ends of
several streamer colors together. Wrap
them around the skinny side of the index card about six times – each side of
the card counts as one wrap, so only three if you go around both sides!

Step 5
Use scissors to cut the ends of the streamers once you have
wrapped them around the index card. Hold
the streamers in the middle of the card, and cut the “looped” sides on each
end, so there are several layers of stacked streamer pieces. Slide the index card out from the
middle.

Step 6
Loosely tie a string around the middle of the stacked streamer
pieces. They should curl up a bit, but
not too much, as seen in the photo.

Step 7
Separate small stacks of the streamer pieces on one side of the
string, and use fringe scissors to cut all the way across. Cut toward the middle, but do not cut all the
way to the string. Fringe every single
layer, and then repeat this step on the opposite side of the string.

Step 8
Fan out the fringe with your fingers, and then shape the piece
into a ball. You may even squish it down
a bit. Use tacky glue to attach it to
the top of your bowl hat. Allow to dry.

Step 9
Use toothpicks to paint small “x” shapes in little rows at the
bottom of the hat with acrylic paint, to look like stitches. Allow to dry.

Your hats are ready to place on the table over small candies, toys, or treats. Merry Christmas!


