Showing posts with label Valentines. Show all posts

Friday, February 11, 2022

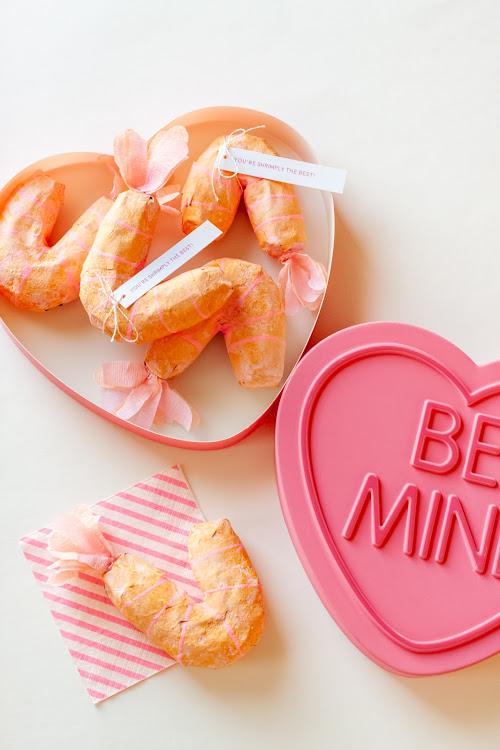
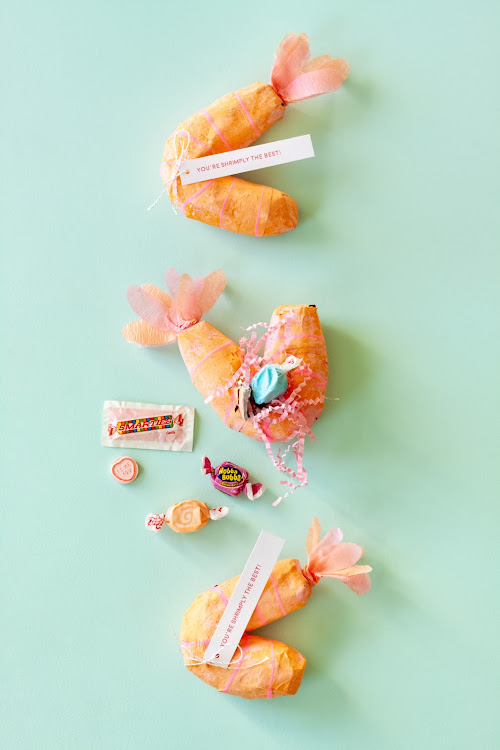
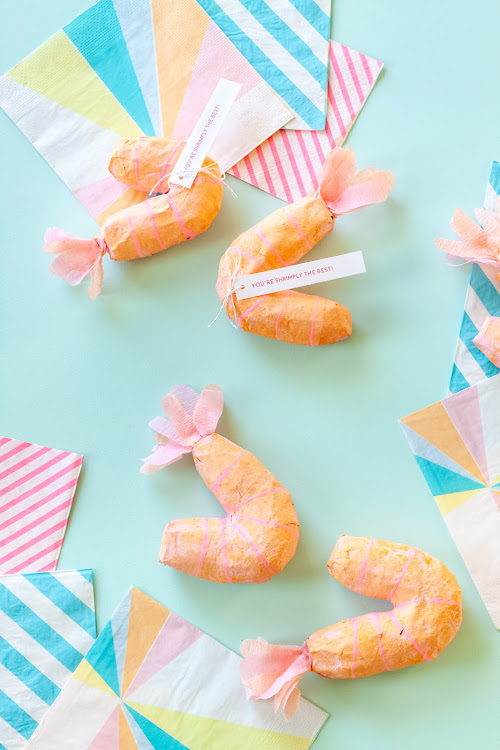
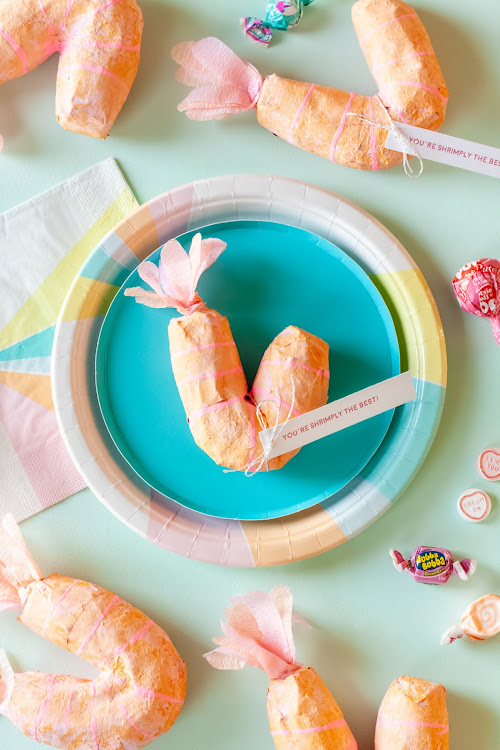
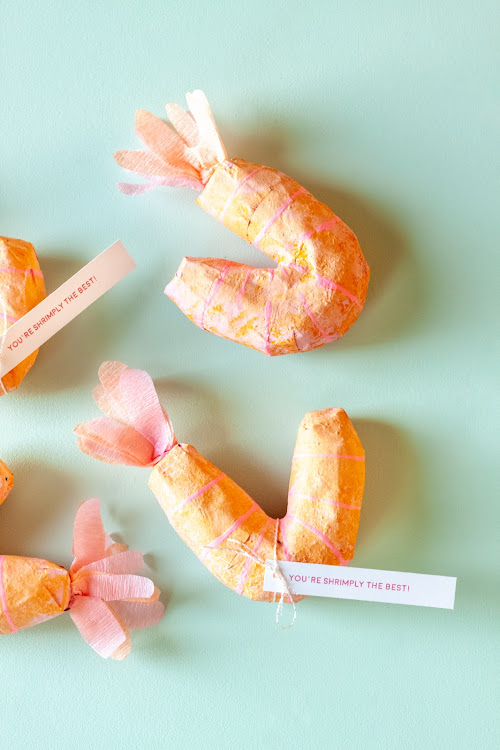
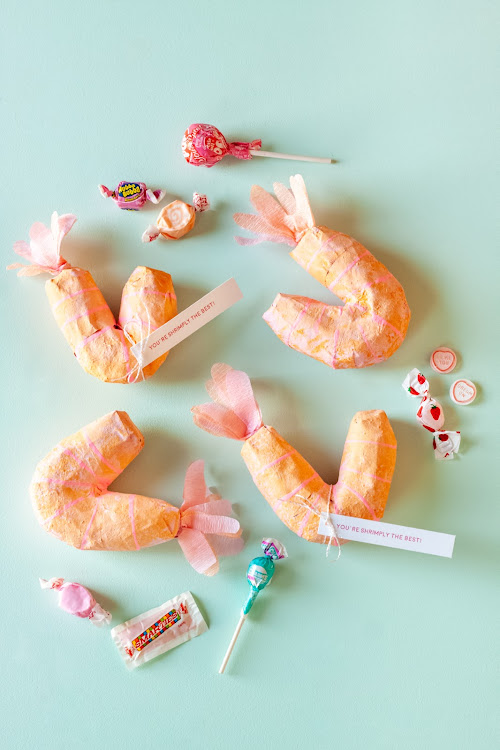
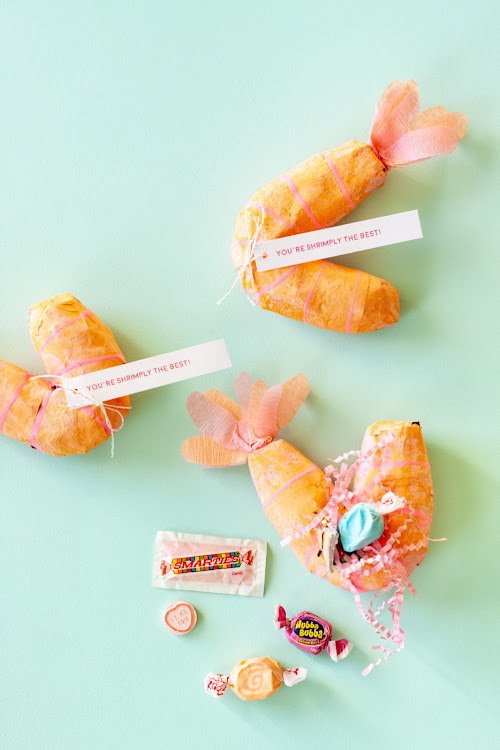
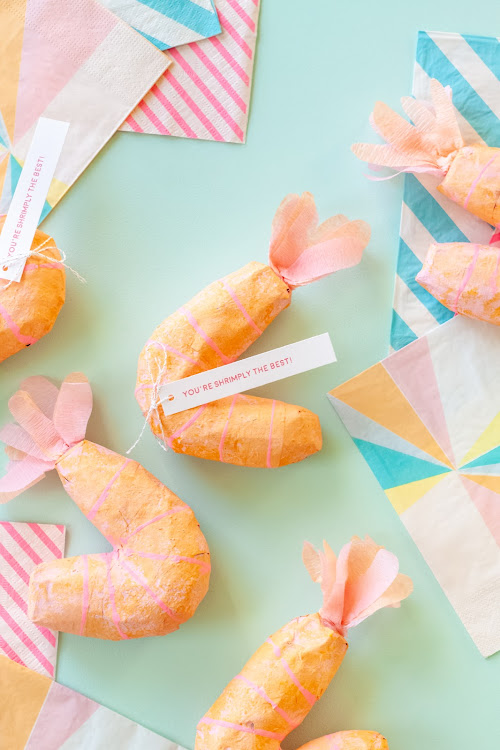
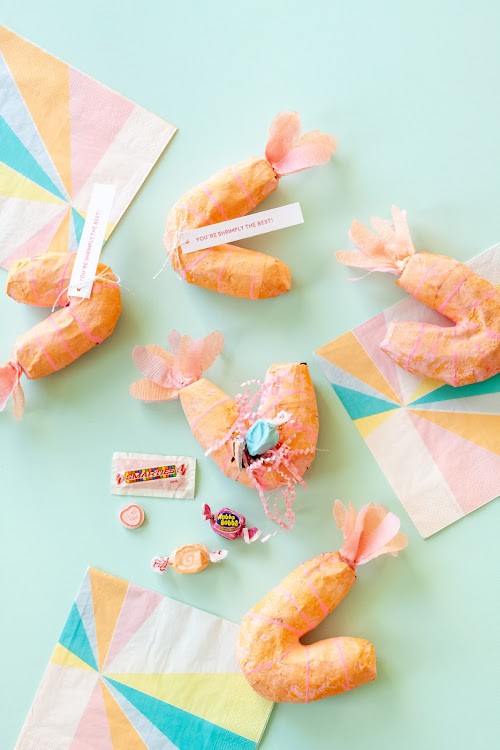
"You're Shrimply the Best" Valentine Shrimp Piñatas

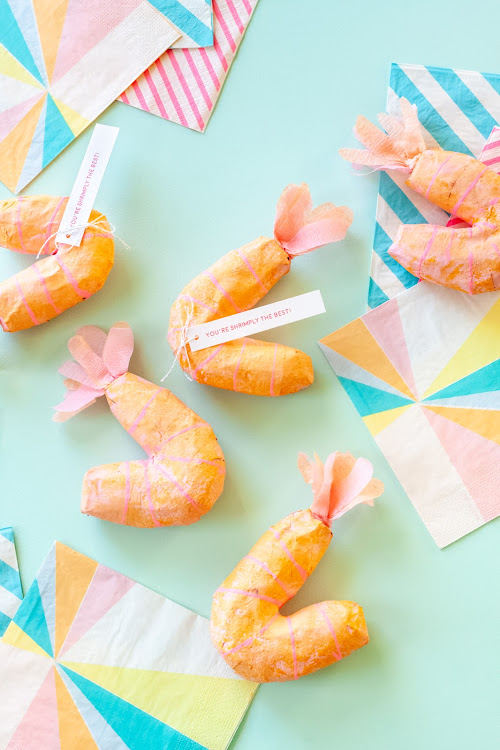
You are “shrimply” the best!  I have always wanted to try making shrimp piñatas, and adding a little pun made these perfect for Valentine’s Day!  It would be so fun to host a seafood or sushi night for Galentine's and send the girls home with some piñatas filled with chocolates…or just make one for your love and go out to your favorite sushi restaurant.  If you have a mini sushi lover, it would be an adorable birthday theme!  Be sure to check out these sushi favors as well.


SUPPLIES:

• Twisty balloon

• Balloon pump

• Clear tape

• Newspaper strips

• Paper mache paste (1 c water, 1 c flour)

• Scissors

• Acrylic paint in peach + pink + hot pink

• Sponge brush

• String

• Paper plate

• Mesh loofah sponge

• Party streamers in peach + pink

• Hot glue gun

• Box cutter

• Valentine candy and/or favors

HOW TO:

Step 1

Use a balloon pump to blow up your twisty balloon to about 8 inches long.  You really have to blow up the entire thing, and then let out some air to get to your desired length.  Use a long piece of tape to hold the ends together.  Leave a decent length of tape in between the two ends to curve the balloon like shrimp, without allowing the ends to touch. 

Step 2

Dip newspaper strips in paper mache paste, and wrap the balloon in a few layers, starting in the center, and working your way up to the pieces of tape.  Allow to dry. (Overnight would be ideal).

Step 3

Remove the tape from the balloon and cover the ends in newspaper strips dipped in paper mache paste and allow to dry.  It is best to place newspaper strips in an “x” around the ends, and then wrap horizontally down the sides. 

Step 4

Paint the shrimp body in pink, and then place the pink and peach paint colors on a paper plate.  Dip your mesh loofah sponge in both paint colors, and dab it all over the shrimp, until you have a nice, varied pinkish-peach color.  Allow to dry.

Step 5

Place some hot pink paint on a paper plate, and hold a string at each end, and dip it in the paint.  Wrap the string around the shrimp body in multiple places, about an inch apart.  Allow to dry.

Step 6

Layer about 2 ½”-3" long pieces of pink and peach party streamers and cut a tail shape with scissors.  Fan them out a bit, and bunch them up at one end.  Use a glue gun to attach them to the end of the shrimp body. 

Step 7

Use your box cutter to cut three sides of a rectangle on the back of the shrimp, to make a little door for placing the candy and favors.  Take out the balloon and shake out any dried paper mache flakes over a trash can, and then fill with favors. 


Happy crafting, and Happy Valentine’s Day! 

Tuesday, February 8, 2022

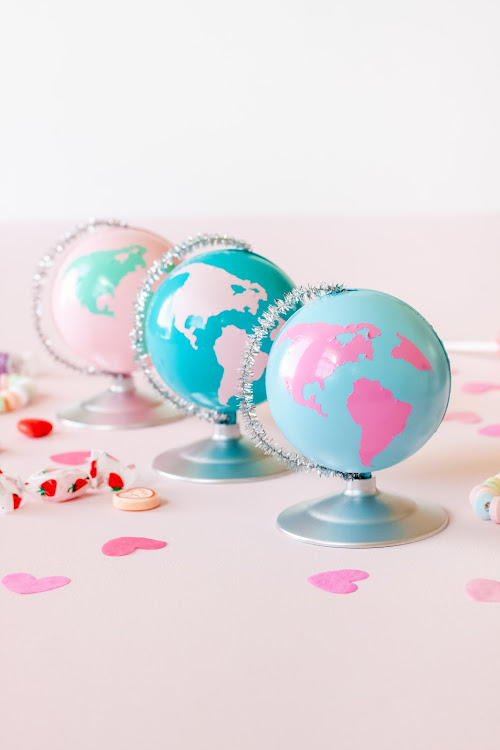
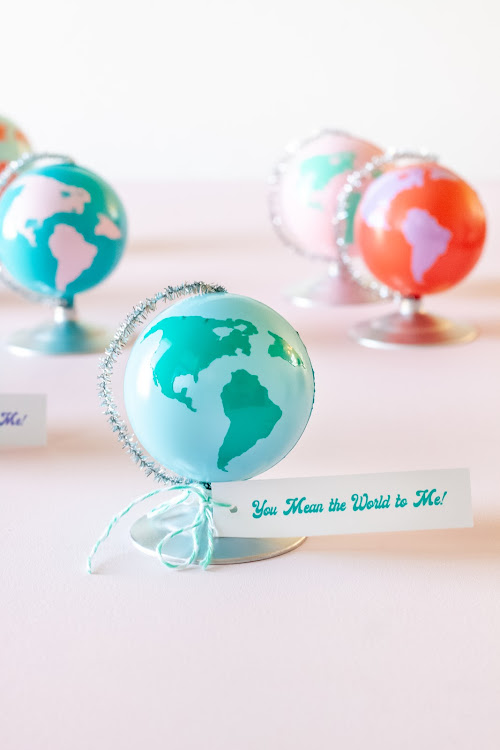
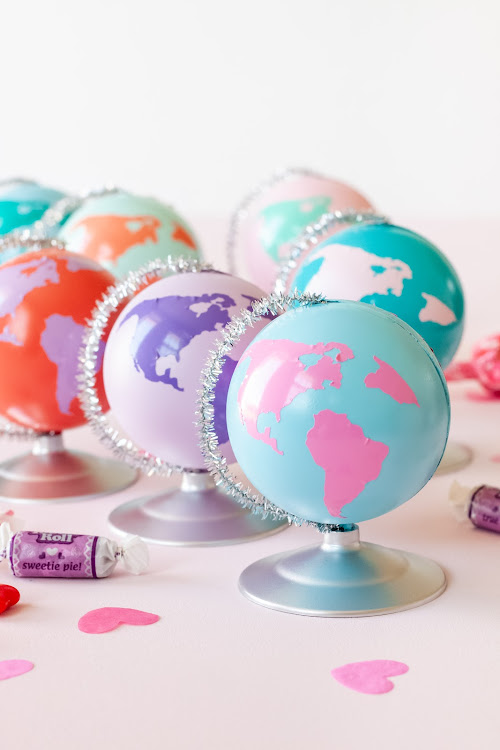
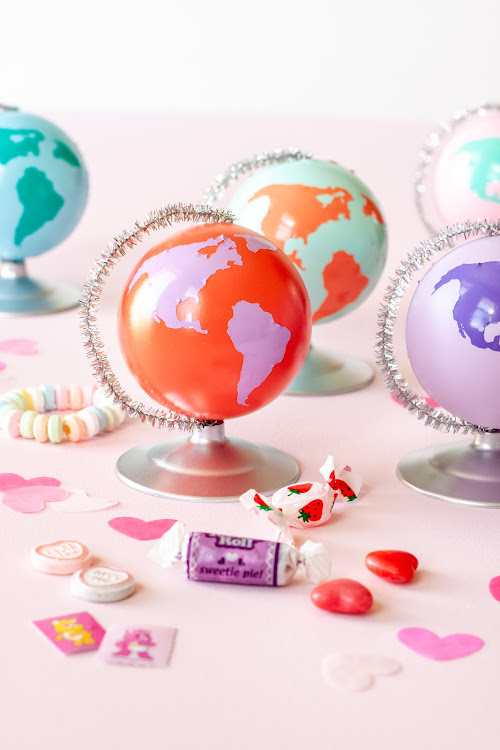
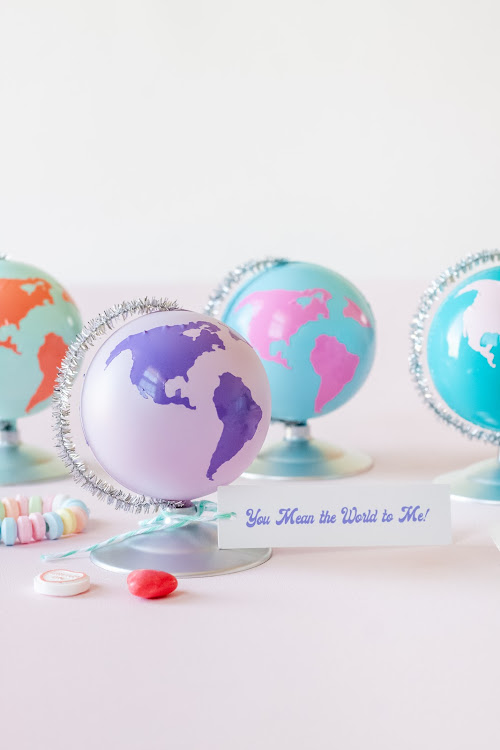
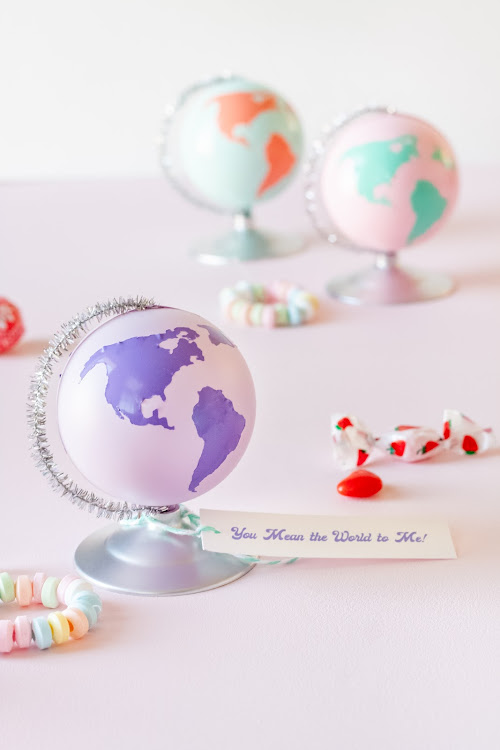
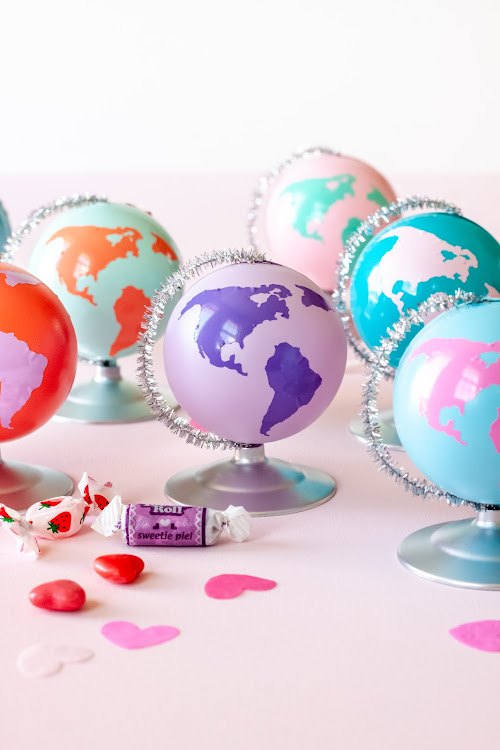
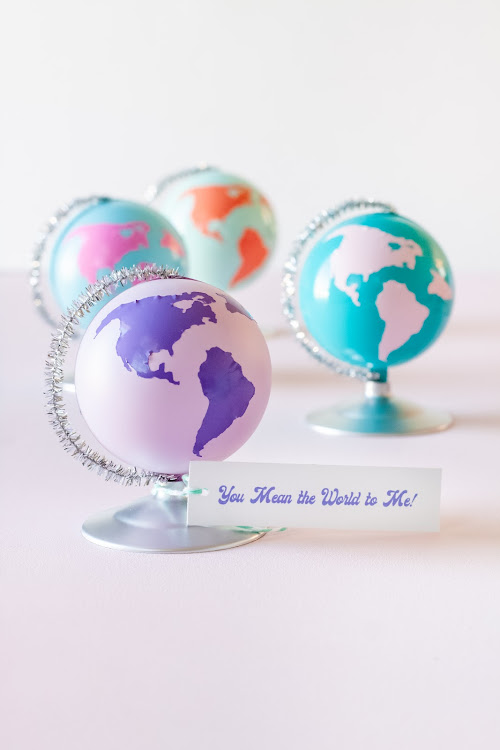
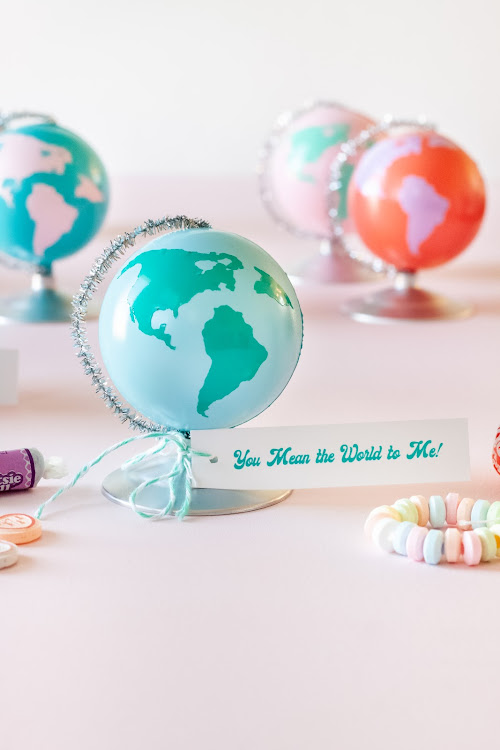
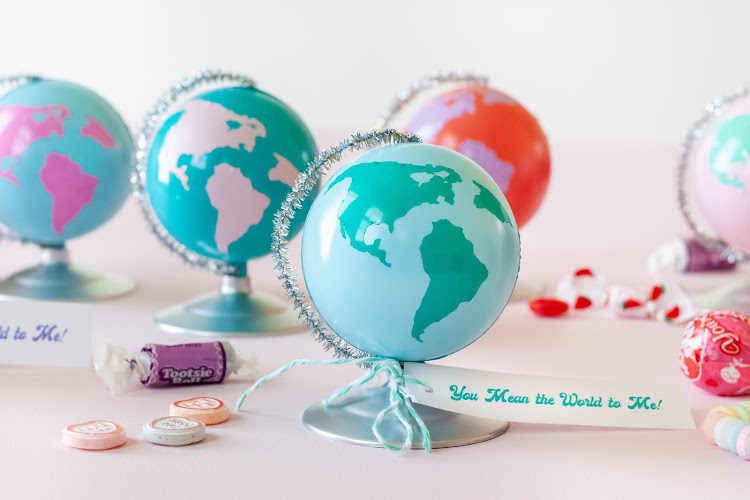
"You Mean the World to Me" Valentine Globe Favors

One day I was playing around with different items I had laying around my workspace, and I popped the tip of a plastic ball container into the base of a dollar store wine glass just to see if it would fit.  I was SO glad I did, because it immediately inspired these globe valentines!  I love that they can be filled with candy or favors, and just need a tag that says “You Mean the World to Me!”  You could definitely reuse this idea for Earth Day, a Back-to-School party, for a world-traveling friend or travel-inspired birthday.  Oooo, they could be cute for graduation too, for an “Oh the Places You’ll Go” theme.  Oh, and if you’re reading this, you really do mean the world to me!  I would love to know, what is your favorite handmade valentine you have ever made or received?


If you’re looking for a few other valentine ideas, check out these mini mailboxes, thumbprint heart glasses, or these pop tart pouches.  

SUPPLIES:

• 2.76” Plastic ball ornament container (in-store at Hobby Lobby)

• Spray paint (silver + color of your choice)

• Silver pipe cleaner

• Scissors

Plastic wine glass base

• Cutting machine

• Adhesive vinyl sheet

HOW-TO:

Step 1

Open your plastic container, and spray paint the outside of the two halves in the color of your choice.  Allow to dry.

Step 2

Spray paint the top of the wine glass base in silver.  Allow to dry.

Step 3

Fill the container with valentine candy and favors.  Tightly tie the end of a pipe cleaner through the tip of the plastic ball.  Wrap it loosely around one side of the ball, leaving a little space between the ball and pipe cleaner.  Cut the pipe cleaner down leaving enough to wrap around half the ball, as well as a tip to stick in the top, center of the ball.  Close the container over the tip of the pipe cleaner.
Step 4

Cut continents out of adhesive vinyl using a cutting machine.  The size of the rectangle around my continents was 6.411” x 3.229” to give you an idea of size.  Attach to the outside of the ball, without placing any over the seams, and use a map or globe to help with placement. To be honest, there may be some ripples, especially on the largest continents, but do your best to smooth them out as much as possible. 

Step 5

Place the tip of the plastic ball into the base of the wine glass, and the pipe cleaner wrapped around should squeeze in as well.  Be sure kids know to be careful with the end of the pipe cleaner that is sticking in the top of the globe once they open the container.


Now, let friends, family, neighbors, classmates, teachers, etc. know that they “mean the world” to you!  Happy crafting, and Happy Valentine’s Day!  

Friday, January 28, 2022

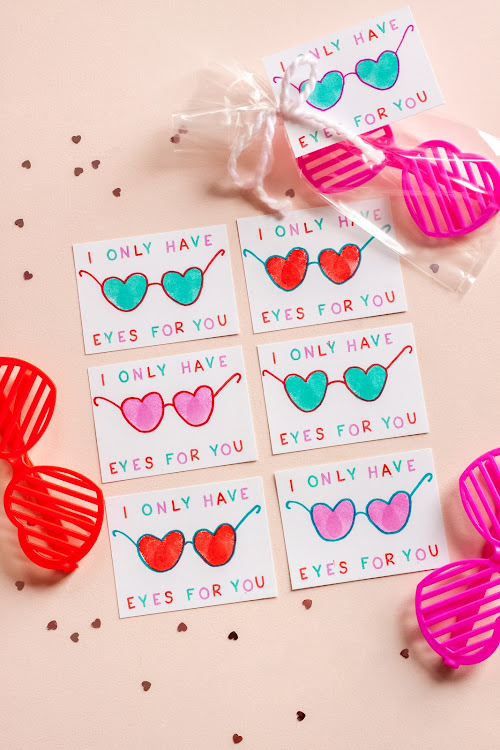
Thumbprint Heart Glasses Valentine


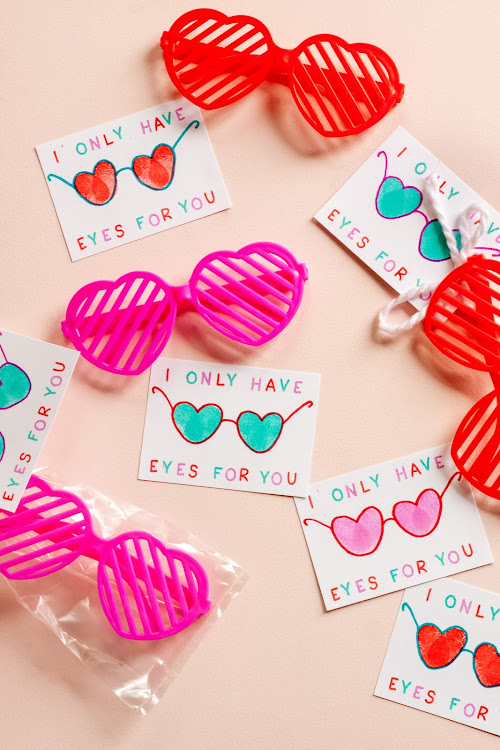
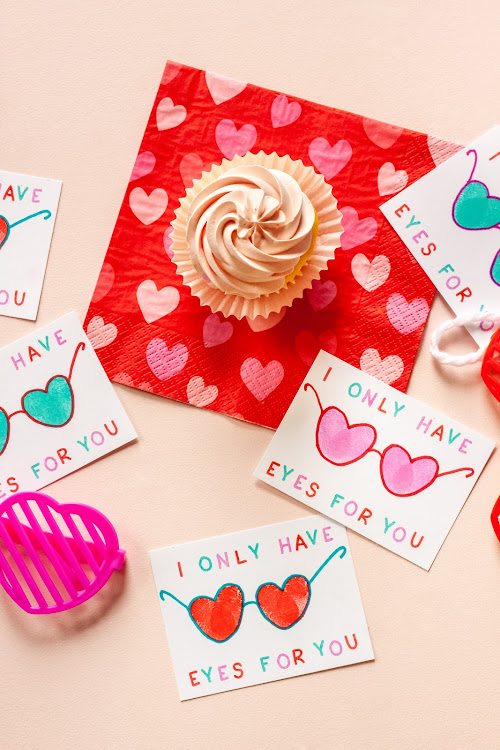
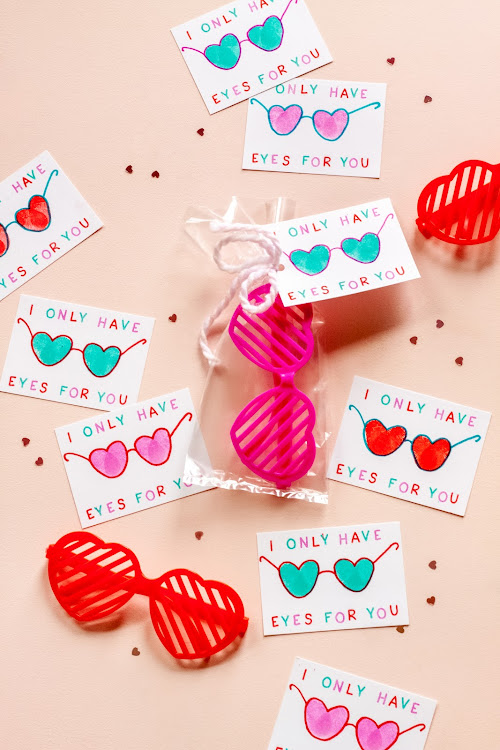
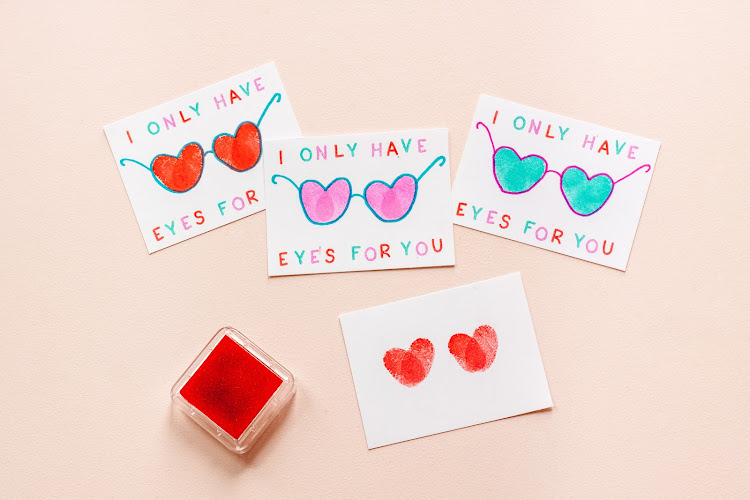
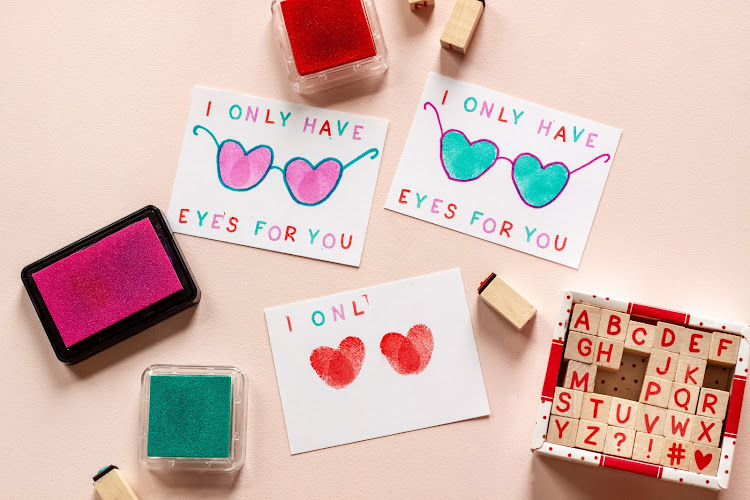
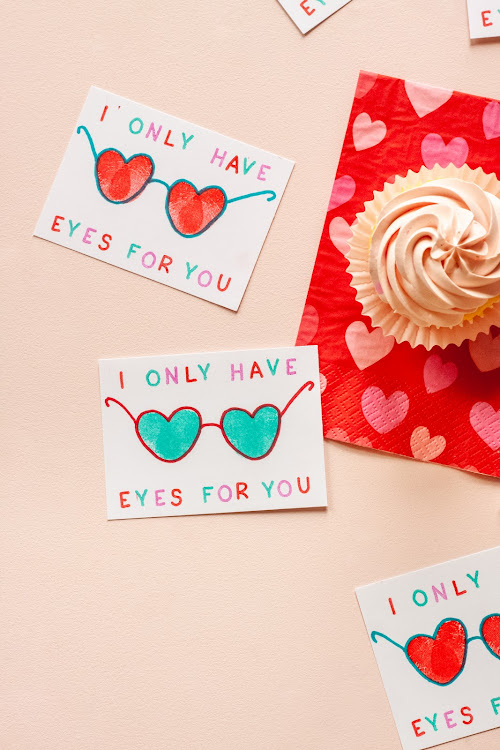
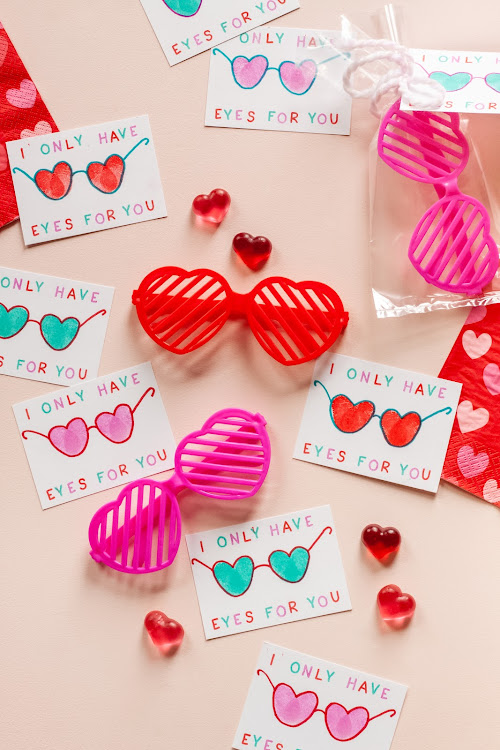
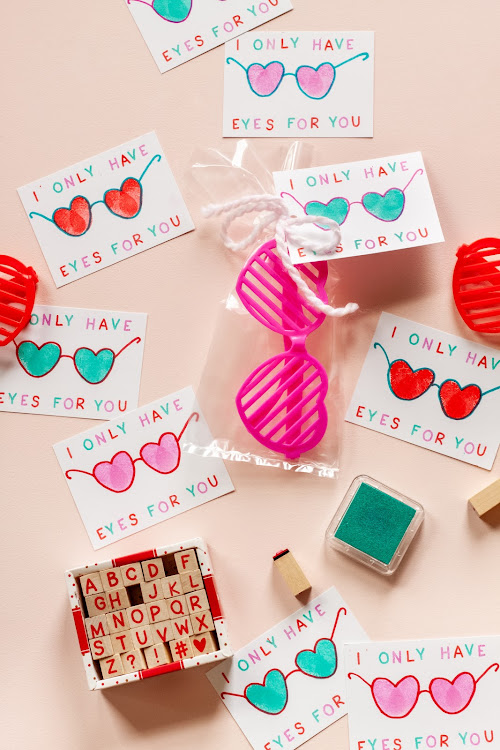
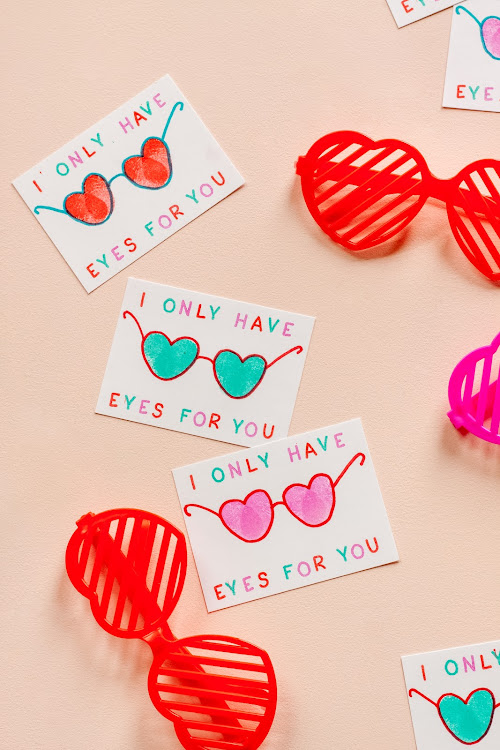
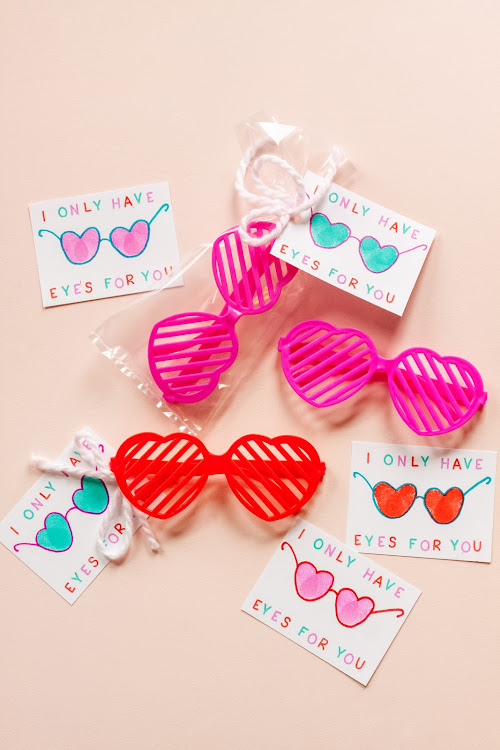
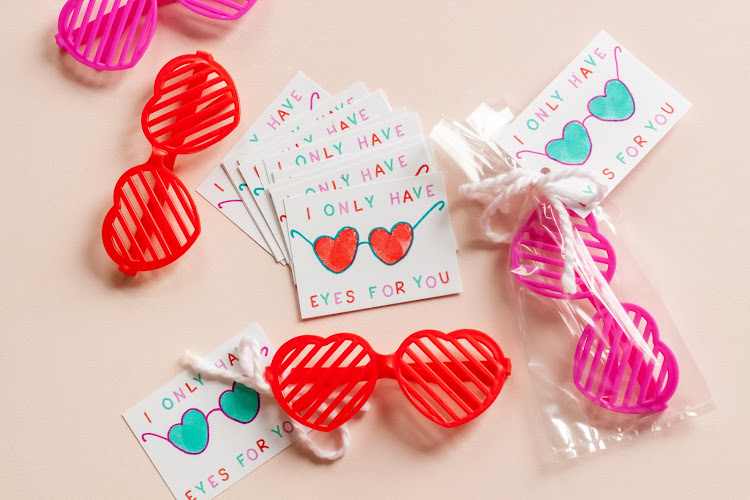
Valentine’s Day is coming up, and it is one of the best holidays for adorable handmade crafts!  I love a good ol’ classic handmade valentine, and these thumbprint heart glasses are easy enough for kids to craft in an afternoon!  Just grab some alphabet stamps, ink pads and cardstock, and you can make the cutest punny valentines for classmates.  Heart glasses are pretty easy to come by this time of year, so these could be cute tags to attach to a little V-day gift.  I found some packs of four at the dollar store, and am starting to see them everywhere!


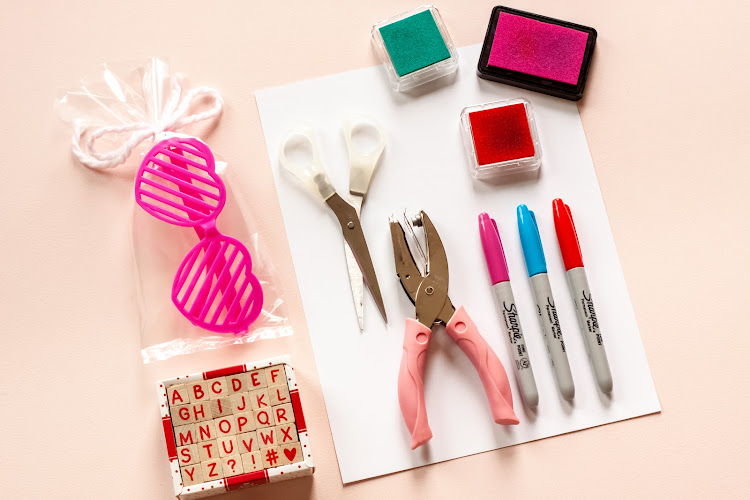
SUPPLIES:


• Cardstock

• Scissors or paper cutter

• Alphabet stamps

• Ink pads in multiple colors

• Markers

OPTIONAL:

• Hole punch

• Ribbon or string

• Heart glasses

• Cellophane bags

HOW TO:


Step 1

Cut cardstock into 4" x 3" rectangles.  Just left, but close to the center of the card, use your thumb and some ink to stamp two thumbprints angled away from each other, with the bottom of one overlapping the bottom of the other to look like a heart.  Stamp a second heart a little over ¼” from the first.  


Step 2

In multiple alternating colors, use alphabet stamps to write “I ONLY HAVE EYES FOR YOU” with “I ONLY HAVE” at the top of the card, and “EYES FOR YOU” at the bottom. 

Step 3

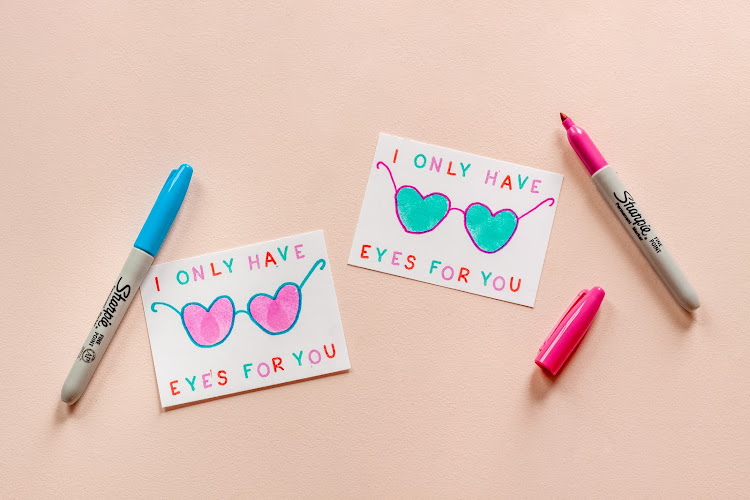
Use a marker to draw an outline around the heart prints.  Attach them with a curved line at the middle, and create the sides of the glasses with lines angled out from the sides, and ending with a curve. 

Step 4 (OPTIONAL)

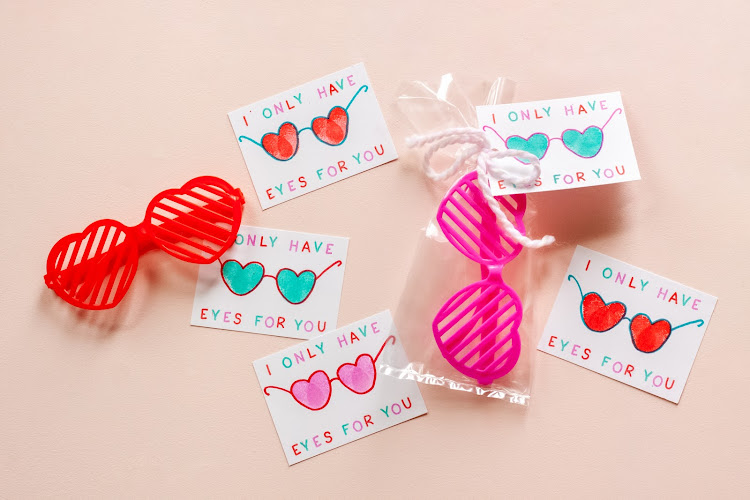
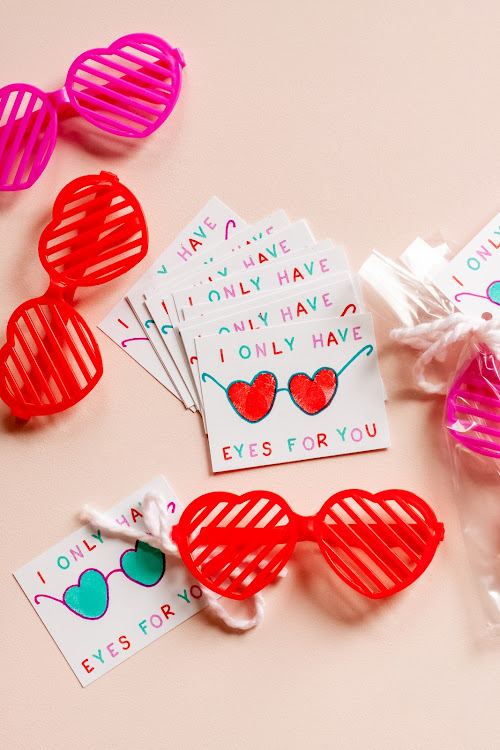
You may punch a hole in the side of the card, put some heart glasses in cellophane bags, and attach the card to the bag using fun ribbon or string.  


Now you have the cutest valentines to share with classmates, friends, family and neighbors!  Happy crafting, and Happy Valentine’s Day!!